Ensuring your bicycle is in optimal condition before every ride is crucial for both safety and performance. A pre-ride bike check can help you identify potential issues that could lead to accidents or mechanical failures. This article will guide you through the essential steps of a pre-ride bike check, ensuring that your bike is ready for the road or trail.
Inspecting the Tires and Wheels
The first step in your pre-ride bike check should be to inspect the tires and wheels. Properly inflated tires and well-maintained wheels are essential for a smooth and safe ride.
Check Tire Pressure
Using a reliable tire pressure gauge, check the pressure of both tires. The recommended pressure is usually printed on the sidewall of the tire. Under-inflated tires can lead to poor handling and increased risk of flats, while over-inflated tires can make the ride uncomfortable and reduce traction.
Examine Tire Tread and Sidewalls
Inspect the tread for any signs of wear or damage. Look for cuts, punctures, or embedded debris that could cause a flat. Also, check the sidewalls for cracks or bulges, which can indicate that the tire is nearing the end of its life.
Spin the Wheels
Lift the bike and spin each wheel to ensure they are true and free of wobbles. A wobbly wheel can affect handling and may indicate a need for truing or spoke adjustment. Listen for any unusual noises that could indicate a problem with the hub or bearings.
Brakes and Brake Pads
Effective braking is essential for your safety. Regularly checking your brakes and brake pads can prevent accidents and ensure you have the stopping power you need.
Test Brake Levers
Squeeze the brake levers to ensure they engage smoothly and provide adequate stopping power. The levers should not touch the handlebars when fully engaged. If they do, you may need to adjust the brake cables or replace worn brake pads.
Inspect Brake Pads
Examine the brake pads for wear. Most pads have wear indicators, such as grooves or lines, that show when they need to be replaced. If the pads are worn down to these indicators, it’s time for new ones. Also, check for any debris or glazing on the pads that could reduce their effectiveness.
Check Brake Cables and Housing
Inspect the brake cables and housing for any signs of fraying, rust, or damage. Damaged cables can snap unexpectedly, leading to a loss of braking power. Replace any damaged cables or housing immediately.
Drivetrain and Gears
A well-maintained drivetrain ensures smooth shifting and efficient power transfer. Regularly checking and maintaining your drivetrain can extend its life and improve your riding experience.
Inspect the Chain
Check the chain for wear and lubrication. A worn chain can cause poor shifting and accelerate wear on other drivetrain components. Use a chain wear indicator tool to measure chain stretch. If the chain is worn, replace it to prevent further damage to the cassette and chainrings.
Check the Cassette and Chainrings
Examine the cassette and chainrings for signs of wear, such as hooked or shark-toothed teeth. Worn teeth can cause poor shifting and chain slippage. If you notice significant wear, it may be time to replace these components.
Test Shifting
Shift through all the gears to ensure smooth and accurate shifting. If you experience any hesitation or skipping, you may need to adjust the derailleur or replace worn cables. Properly functioning gears are essential for maintaining a comfortable and efficient cadence.
Frame and Components
The frame and components of your bike form its backbone. Regularly inspecting these parts can help you identify potential issues before they become serious problems.
Check the Frame
Inspect the frame for any cracks, dents, or other damage. Pay special attention to high-stress areas such as the head tube, bottom bracket, and chainstays. If you find any damage, consult a professional mechanic to determine if the frame is safe to ride.
Inspect Bolts and Fasteners
Check all bolts and fasteners to ensure they are tight and secure. Use a torque wrench to tighten bolts to the manufacturer’s specifications. Loose bolts can lead to component failure and accidents.
Examine the Headset and Bottom Bracket
Check the headset and bottom bracket for any play or roughness. Hold the front brake and rock the bike back and forth to feel for any movement in the headset. Spin the cranks to check for smooth operation of the bottom bracket. If you notice any issues, these components may need adjustment or replacement.
Handlebars and Saddle
Properly adjusted handlebars and saddle are crucial for comfort and control. Regularly checking these components can help you maintain a comfortable and efficient riding position.
Check Handlebar Alignment and Tightness
Ensure the handlebars are aligned with the front wheel and securely tightened. Misaligned or loose handlebars can affect handling and control. Use a torque wrench to tighten the stem bolts to the manufacturer’s specifications.
Inspect Handlebar Tape or Grips
Check the handlebar tape or grips for wear and damage. Worn tape or grips can reduce comfort and control. Replace them if they are worn or damaged to maintain a secure and comfortable grip.
Adjust the Saddle
Ensure the saddle is properly adjusted for your height and riding style. Check the saddle height, tilt, and fore-aft position. A properly adjusted saddle can improve comfort and efficiency, reducing the risk of injury.
Lights and Reflectors
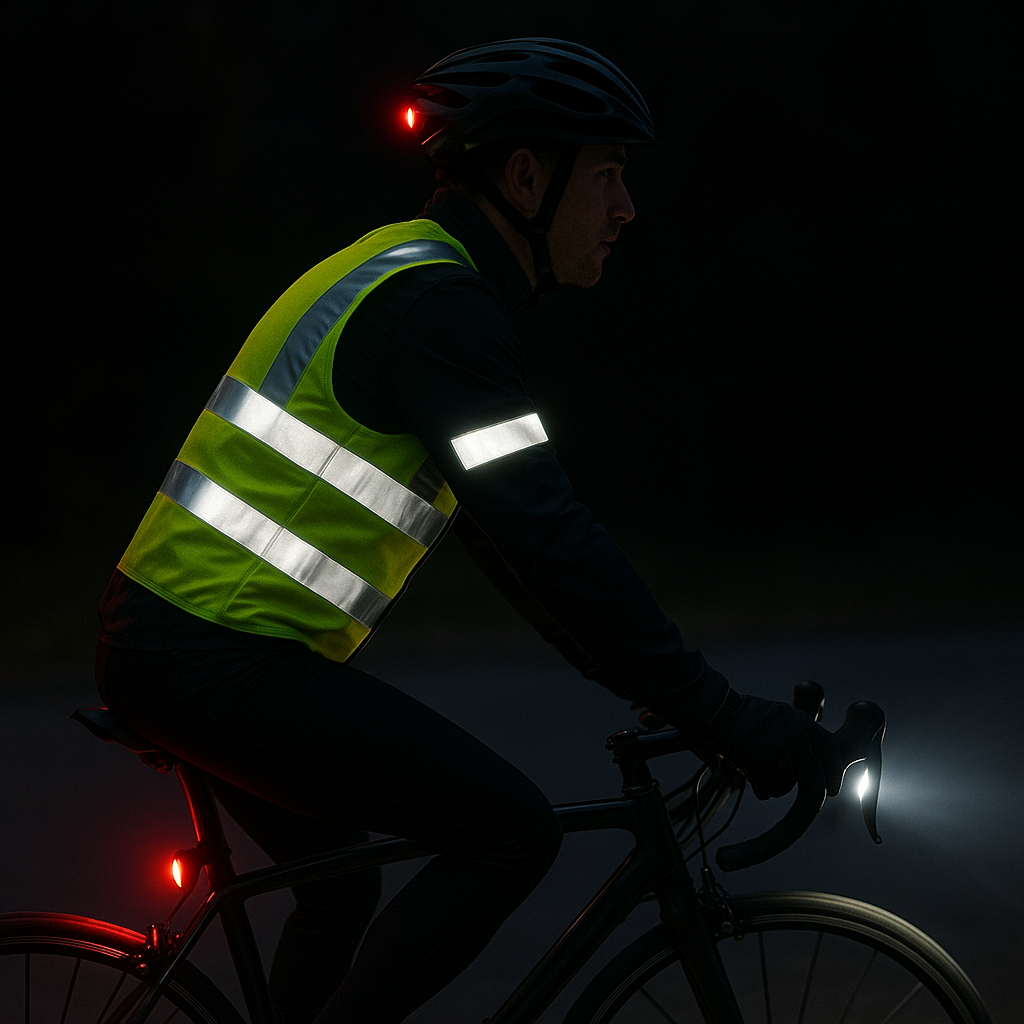
Visibility is crucial for safety, especially when riding in low-light conditions. Regularly checking your lights and reflectors can help you stay visible to other road users.
Test Front and Rear Lights
Ensure your front and rear lights are working properly. Check the batteries and replace them if necessary. Bright, functioning lights are essential for visibility and safety, especially when riding at night or in low-light conditions.
Inspect Reflectors
Check that all reflectors are clean and securely attached. Reflectors on the wheels, pedals, and frame can help increase your visibility to other road users. Replace any missing or damaged reflectors to maintain maximum visibility.
Final Safety Check
Before heading out, perform a final safety check to ensure everything is in order. This last step can help you catch any issues you may have missed during the initial inspection.
Perform a Quick Ride Test
Take a short ride around your driveway or street to test the bike’s overall performance. Pay attention to any unusual noises, handling issues, or shifting problems. If you notice anything unusual, address the issue before heading out on a longer ride.
Carry Essential Tools and Supplies
Ensure you have essential tools and supplies with you, such as a multi-tool, spare tube, tire levers, and a pump or CO2 inflator. Being prepared can help you address minor issues that may arise during your ride.
By following these steps, you can ensure your bike is in optimal condition before every ride. Regular pre-ride checks can help you identify and address potential issues, improving your safety and overall riding experience. Happy cycling!

