Mastering your mountain bike’s suspension is essential for unlocking peak performance, comfort, and control on varied terrain. Whether you’re tackling rocky descents or smooth singletrack, fine-tuning your setup can transform how your bike feels and responds. This guide will walk you through selecting the right components, setting proper sag and air pressure, adjusting rebound and compression, and maintaining your system for long-term reliability.
Selecting the Right Suspension Components
Choosing high-quality equipment lays the foundation for an optimal ride. Two main parts define your bike’s suspension: the fork up front and the rear shock. Each has distinct roles:
- Fork Travel and Type: Travel ranges from 80mm for cross-country to 200mm for enduro and downhill. Air forks are lighter and easily adjustable, while coil forks deliver consistent performance under heavy loads.
- Shock Characteristic: Rear shocks come in various designs—air, coil, or hybrid. Air shocks let you dial in your ride with simple pressure changes; coil shocks typically provide more linear response.
When selecting, consider your riding style and local terrain. Cross-country riders prioritize efficiency and weight savings, while enduro and downhill riders demand robust damping and durability. Pairing a matching fork and shock from the same brand often ensures better compatibility of terminologies and tuning ranges.
Setting Sag and Air Pressure for Optimal Performance
Sag refers to how much the suspension compresses under your weight before you start riding. Proper sag ensures the wheel maintains contact with the ground, enhancing traction and control. Follow these steps to set sag accurately:
- Wear your full riding kit (helmet, hydration pack, tools).
- Sit on the bike in a neutral position, gently leaning against a wall or having a friend hold it upright.
- Measure the difference between fully extended and compressed states. Aim for:
- Fork sag: 15–25% of total travel.
- Shock sag: 20–30% of total travel.
- Adjust air pressure with a shock pump in small increments (10–20 psi) until you hit the target sag.
Proper sag prevents harsh bottom-outs and excessive top-outs, preserving travel and comfort. Remember to recheck sag after changing tire pressure or swapping gear, as weight distribution may shift.
Tuning Rebound and Compression Damping
Once sag is dialed in, you’ll fine-tune how quickly your suspension recovers (rebound) and how it resists impacts (compression). Both adjustments influence ride feel:
Rebound Damping
Rebound controls how fast the suspension returns to its original position after a bump. Too fast, and the bike feels bouncy; too slow, and it packs down on successive hits. Most forks and shocks have a clicker labeled “+” and “–”. Start in the middle, then:
- Turn one click toward “+” (slower rebound) if you feel the bike topping out and losing traction.
- Turn one click toward “–” (faster rebound) if it feels wallowy or dive-prone under braking.
Compression Damping
Compression damping regulates how the suspension handles impacts. It often has separate low-speed and high-speed controls:
- Low-Speed Compression affects pedaling efficiency and chassis movement in corners.
- High-Speed Compression manages big hits and rock strikes.
Begin with factory-recommended settings, then adjust:
- Increase low-speed compression if the bike squats under pedaling or feels unstable in corners.
- Reduce it if small bumps are harsh or you lose traction over chunkier terrain.
- Increase high-speed compression if bottom-outs occur on drops; reduce it if the ride becomes too harsh on big hits.
Advanced Suspension Techniques
Beyond basic settings, expert riders often employ specialized methods to extract more performance:
Token and Volume Spacers
Adding or removing volume spacers inside an air chamber modifies the spring curve. More spacers yield a more progressive feel—great for aggressive riders to resist bottom-outs. Removing spacers softens initial travel, improving small-bump sensitivity.
Spring Rate Calculation
For coil shocks, selecting the right spring rate is critical. Use the formula:
- Spring Rate (lb/in) = (Rider Weight × Sag %) / (Travel in inches)
Adjust the spring rate in 10–20 lb/in increments based on feel:
- Increase rate for a firmer ride under heavy pedaling or aggressive drops.
- Decrease rate for a plusher ride and better traction in rough climbs.
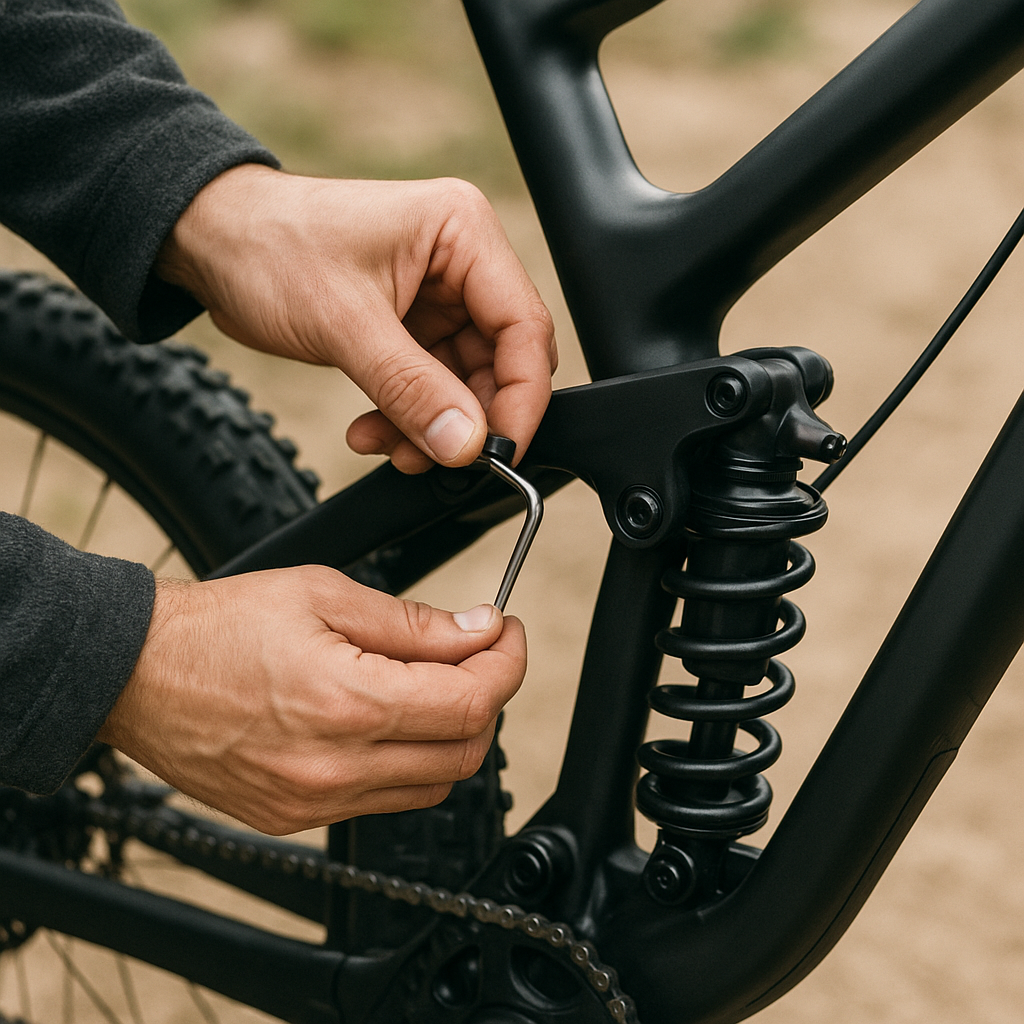
Maintenance and Troubleshooting Tips
Regular upkeep prolongs the life of your suspension and maintains peak damping performance. Key service points include:
- Inspect seals and wipers every 50 hours of riding. Clean stanchions and apply fresh lubrication.
- Perform a lower-leg service on forks every 100 hours: replace oil, new foam rings, and inspect bushings for wear.
- Complete a full shock rebuild annually or every 200 hours, including seal kits and damper inspection.
If you notice oil leaks, inconsistent rebound, or excessive play, it’s time for a professional service. Quick attention to these issues prevents further damage and ensures reliable performance on the trail.
Conclusion
Dialing in your mountain bike’s suspension demands patience, experimentation, and attention to detail. By selecting suitable components, setting accurate sag, fine-tuning rebound and compression, and following regular maintenance schedules, you’ll unlock smoother rides and superior control. Embrace the process, take notes on each adjustment, and iterate until your bike feels dialed for your unique riding style and local terrain challenges.

