Building a bike from the ground up can be an empowering journey that combines craftsmanship, ingenuity, and a passion for cycling. Whether you want a sleek road machine, a rugged mountain rig, or a custom commuter cruiser, creating a bicycle in your own workshop gives you total control over every detail. This guide will lead you through selecting quality parts, mastering key assembly techniques, and ensuring your ride delivers peak performance.
Preparation and Parts Selection
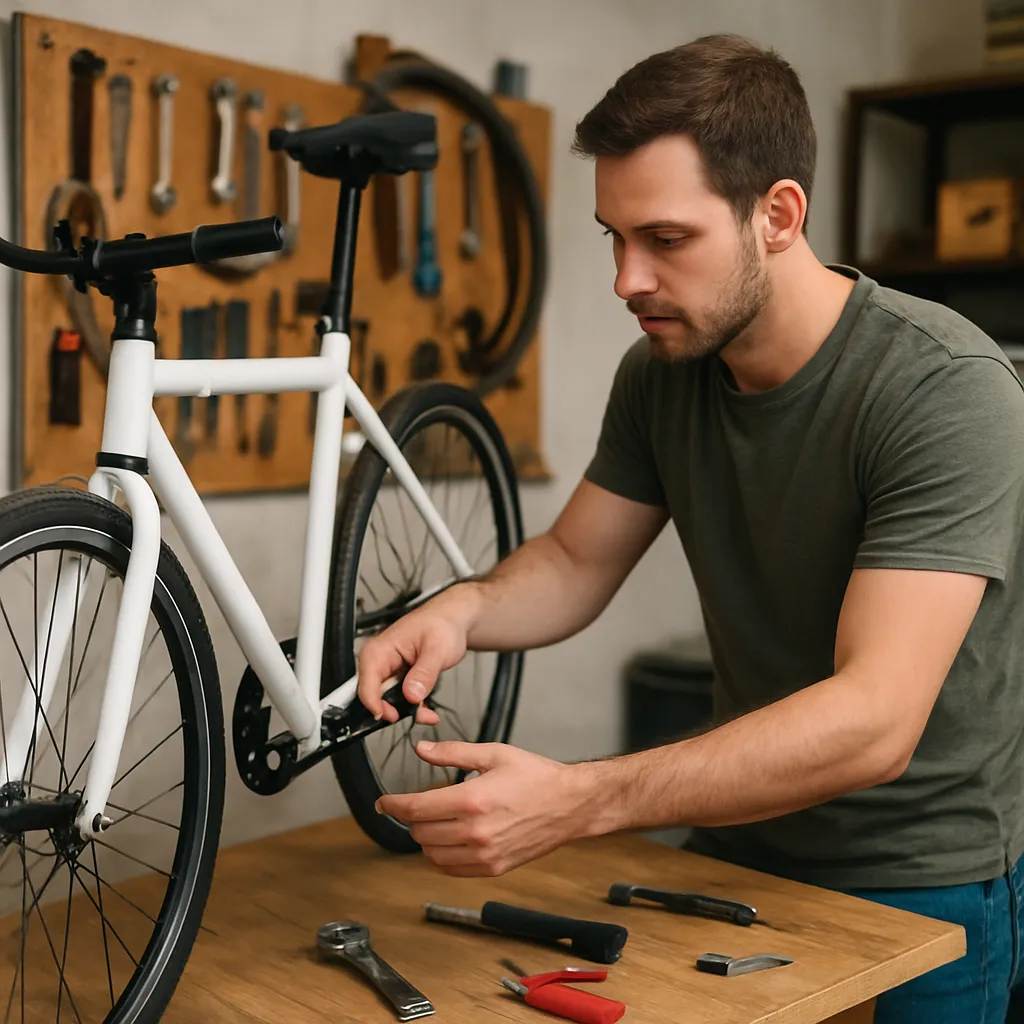
Before you dive into assembly, organize your workspace and gather all necessary tools. A clean bench with good lighting reduces the chance of lost components or assembly mistakes. Invest in solid workstands and storage for small parts. Next, evaluate the bike style you want: a light, aerodynamic road bike or a sturdy off-road bike. Knowing your intended use makes it easier to choose the ideal items.
Essential Tools
- Allen key set, including 2 mm to 10 mm sizes
- Adjustable torque wrench for accurate bolt tension
- Bottom bracket tool and crank puller
- Chain tool and cable cutters
- Screwdrivers, pliers, and grease applicator
- Truing stand or wheel alignment guide
Next, select a reliable bicycle frame. You can opt for steel for durability, aluminium for lightness, or carbon for maximum stiffness. Ensure the frame size matches your height and ride style. Confirm that the frame’s bottom bracket, headset, and dropout standards align with available parts. Discrepancies in standards can lead to compatibility issues later.
Choosing Components
- Headset compatible with your frame’s head tube
- Drivetrain: chainrings, cassette, chain, and derailleurs
- Wheelset matched to your brake type (rim or disc)
- Brake calipers, rotors, or pads
- Handlebar, stem, and seatpost
- Saddle suited to your comfort and riding position
Prioritize quality over cost for critical items. A premium drivetrain ensures precise shifting and extended life, while a sturdy wheelset boosts overall efficiency. Research reviews, brand reputations, and warranty terms. If you choose a disc brake system, double-check rotor sizes and mounting standards. For rim brakes, confirm the brake track is compatible with your chosen wheels.
Assembling the Bicycle Frame and Components
With all parts at hand, start with pressing the headset bearings into the frame’s head tube. Apply a thin layer of suitable grease to seals before installation. Use the appropriate crown race and compression ring to ensure smooth steering movement. Next, insert the fork and tighten the top cap lightly. The initial compression prevents rattling but requires final adjustment later.
Installing the Bottom Bracket and Cranks
- Clean the bottom bracket shell and apply grease.
- Thread in the bottom bracket cups using the correct tool.
- Install the spindle and secure torque to manufacturer specs.
- Mount the crank arms, remembering to check left/right orientation.
- Use the torque wrench for accurate tightening to avoid creaks.
Next, fit the headset spacers and tighten the stem onto the fork steerer tube. Position the handlebars for comfortable reach, ensuring cables have enough slack to turn fully. Move on to attaching the brake calipers: centre them over the rotor or rim surface, then secure bolts electrically or manually to recommended torque values. Correct alignment prevents rubbing and improves durability.
Drivetrain and Wheels
- Run the chain through the derailleurs and around the cassette.
- Use the chain tool for the correct length and rivet installation.
- Mount the front and rear wheels, ensuring axles are seated fully.
- Engage quick releases or through-axles properly with final torque.
- Check wheel alignment using a truing stand or the frame’s brake pads as guides.
After wheels are secure, adjust the front and rear derailleurs for crisp shifting. Begin with limit screws to prevent over-shifting off the cassette, then fine-tune the barrel adjusters for accurate indexing. A properly set drivetrain feels nearly silent and shifts instantly under load.
Fine-Tuning, Safety Checks, and Riding
Before your maiden voyage, perform a full safety inspection. Verify every bolt sits at the correct torque and that cables move freely. Check brake modulation by squeezing levers; they should engage smoothly without sponginess. If you feel any lag, bleed hydraulic systems or replace worn pads. Confirm that tire pressure matches manufacturer recommendations for a balance of comfort and rolling speed.
Maintenance and Upkeep
- Regularly clean and re-lubricate the chain to prevent wear.
- Inspect brake pads and rotors for thinness or warping.
- Check all bearings—headset, bottom bracket, and hubs—for smooth rotation.
- Monitor tire tread and sidewalls for cuts or bulges.
- Every few rides, re-examine torque on critical bolts.
An ongoing maintenance routine extends component life and safeguards against sudden failures. Use a wet or dry lubricant appropriate for riding conditions. Keep a log of mileage and services to anticipate replacements before issues arise.
Customization and Ergonomics
One of the greatest joys of a home-built bike is the ability to personalize. Swap stems for different reach or rise, change handlebars for a more upright or aggressive posture, and test various saddle shapes. Small adjustments can markedly improve comfort and efficiency, particularly on long rides.
Riders often overlook pedal choice, yet clipless systems can dramatically enhance power transfer. Proper cleat positioning reduces knee strain and prevents hotspots on the sole. Consider ergonomic grips or bar tape to reduce fatigue and vibration, especially on rough roads or trails.
Once everything checks out, take short test rides in a safe area. Pay attention to shifting under load, brake feedback, and overall handling. After a few miles, re-examine the bike, retorquing bolts if necessary. Gradually extend your rides as confidence builds. Building your own bicycle not only yields a customized, high-performance machine but also instills a deep understanding of its mechanics—knowledge that translates to better care and more rewarding rides.