Cycling enthusiasts often seek ways to express their personality through their two-wheeled companions. A custom paint job can transform a standard bicycle into a rolling piece of art. This guide will walk you through the process of painting and customizing your bike like a professional, covering essential preparation steps, paint application, and creative detailing.
Understanding Frame Preparation
Proper preparation ensures a smooth finish and long-lasting results. Before you reach for a can of spray paint, equip yourself with the right tools and materials. Your surface preparation determines the final adhesion of the paint and the overall quality of the job.
Disassembly and Safety Measures
- Remove wheels, handlebars, brakes, and chain to access the frame fully.
- Keep hardware organized in labeled bags to ease reassembly.
- Wear protective gear: gloves, goggles, and a respirator mask to prevent inhalation of fumes.
Cleaning and Rust Removal
Any dirt, grease, or oxidation on the surface will compromise the integrity of your paint job. Start by wiping the frame with a degreaser, then use sandpaper or a wire brush to eliminate rust spots. Pay special attention to welds and joints, where moisture often accumulates. For stubborn rust, apply a rust converter before proceeding.
Sanding and Smoothing
- Use 120-grit sandpaper to remove the existing paint finish and create a uniform surface.
- Switch to 220-grit sandpaper to smooth out scratches and edges.
- Wipe the frame with a tack cloth to remove dust particles.
Proper sanding enhances adhesion and prevents peeling. Take your time; a well-prepped frame is the foundation of a professional-quality paint job.
Choosing Paint and Tools
The right materials make a significant difference. Consider quality automotive paints or specialized bicycle paint kits for superior durability. Select a type of paint that offers corrosion resistance and UV protection, ensuring your artwork stands up to weather and wear.
Types of Paint
- Enamel: Hard and glossy, but requires longer curing times.
- Acrylic: Fast-drying and available in a wide range of colors.
- Urethane: Extremely durable, common in professional finishes.
Essential Tools and Supplies
- High-quality primer for metal surfaces.
- Spray guns or aerosol cans with adjustable nozzles.
- Masking tape and stencils for sharp lines and patterns.
- Thinners and cleaning solvents to maintain your equipment.
- Clear coat for added protection and gloss.
Invest in proper ventilation equipment and drop cloths to keep your workspace clean and safe.
Step-by-Step Painting Process
With your frame prepared and materials gathered, follow these steps for a flawless paint job. Patience and attention to detail will yield the best aesthetics and longevity.
Applying Primer
- Shake the primer can vigorously for at least two minutes.
- Hold the can 8–10 inches from the frame and apply in smooth, overlapping strokes.
- Allow the primer to dry for the manufacturer’s recommended time.
- Lightly sand the primed surface with 400-grit sandpaper to remove any imperfections.
A well-applied primer seals the metal and creates a uniform base coat that enhances paint adhesion.
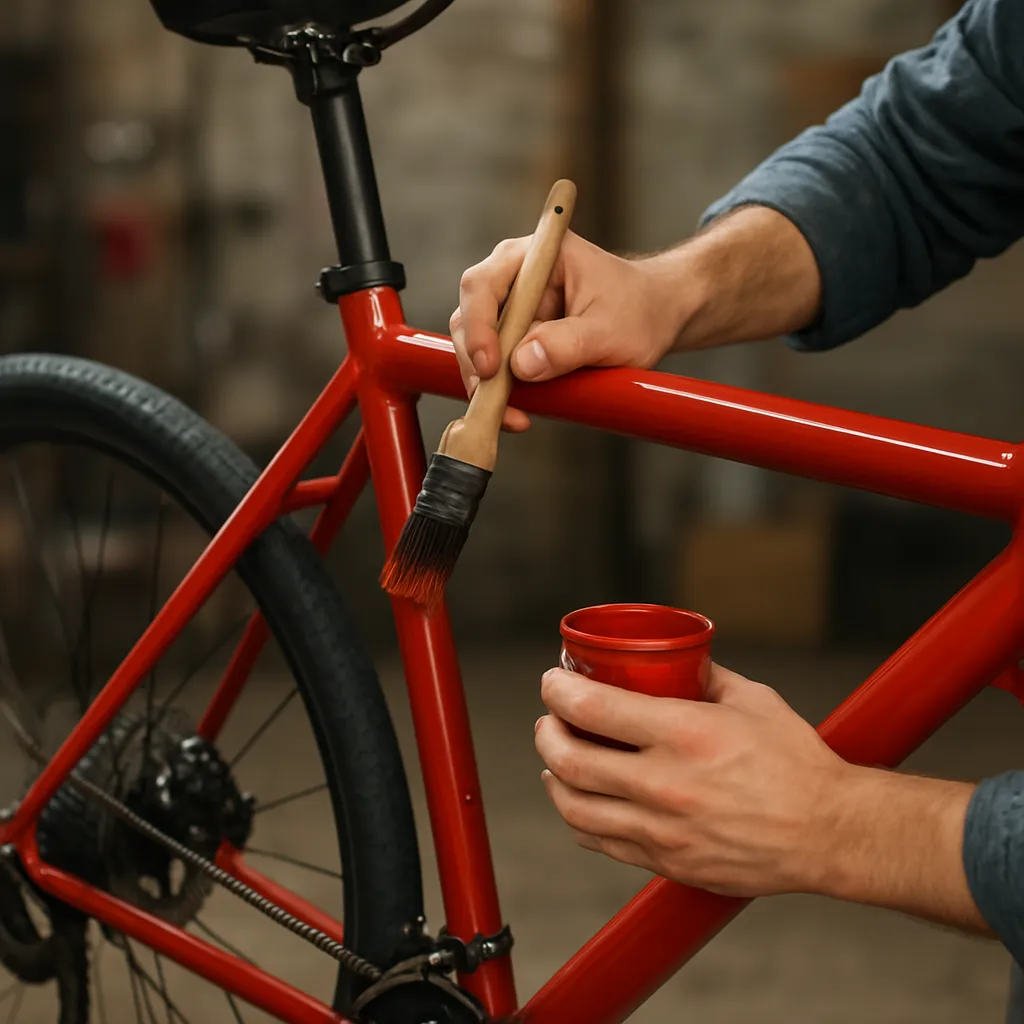
First Color Coat
- Shake your paint can vigorously to mix pigments thoroughly.
- Spray with light, even coats, maintaining the same distance from the frame.
- Apply 2–3 coats, allowing 10–15 minutes of drying time between each.
Avoid heavy application in a single pass to prevent runs and drips. Patience ensures a smooth, professional finish.
Detail Work and Layering
- Use masking tape and stencils for logos, stripes, or geometric patterns.
- Experiment with airbrush techniques for gradients and custom designs.
- If applying multiple colors, ensure each layer is fully cured before masking and painting the next.
Layering colors can create depth and complexity in your design, making your bike stand out from the rest.
Final Clear Coat
- Apply a high-quality clear coat to protect against scratches and UV damage.
- Use 2–3 thin layers, allowing full drying time between coats.
- After the last layer, let the frame cure for 24–48 hours before handling.
The clear coat not only seals your artwork but also gives it a glossy, professional finishing.
Customization Techniques and Tips
Beyond painting, there are numerous ways to personalize your bicycle. From hardware upgrades to creative accents, these tips will help you craft a unique ride.
Hardware and Accessories
- Swap out stock components for lightweight carbon or aluminum parts to improve performance.
- Install colored brake cables to complement your paint scheme.
- Add reflective decals for safety and visual flair.
Special Paint Effects
- Chameleon or color-shifting pigments for a dynamic look in changing light.
- Matte finishes or textured paints for a rugged, industrial vibe.
- Metallic flakes or pearls to create a shimmering effect.
Use an ultra-fine flake and a thin clear coat to lock in the shimmer without adding texture.
Patina and Vintage Styles
For a retro or steampunk aesthetic, create a faux patina using chemical aging solutions or paint layering techniques. Start with a base coat in a metallic hue, then spatter darker tones and wipe away selectively to mimic natural oxidation.
Protecting Your Masterpiece
- Wrap the top tube and downtube with clear protective film to prevent chips.
- Regularly clean with a mild soap and microfiber cloth to preserve the finish.
- Store indoors or under a bike cover to shield from harsh weather.
Maintaining your custom paint job extends its lifespan and keeps your bike looking fresh for years to come.