Embarking on a memorable cycling adventure goes beyond pedaling along scenic routes; it’s about capturing every exhilarating moment through the lens. Whether you’re tackling rugged mountain trails or cruising along coastal paths, documenting your journey with compelling visuals transforms fleeting experiences into lasting memories. This guide will walk you through essential tips on selecting the right equipment, mastering composition, harnessing natural light, weaving a narrative, and refining your shots in post-production. Each section is designed to help cyclists and photographers alike elevate their visual storytelling to the next level.
Choosing the Right Gear for Your Cycling Photography
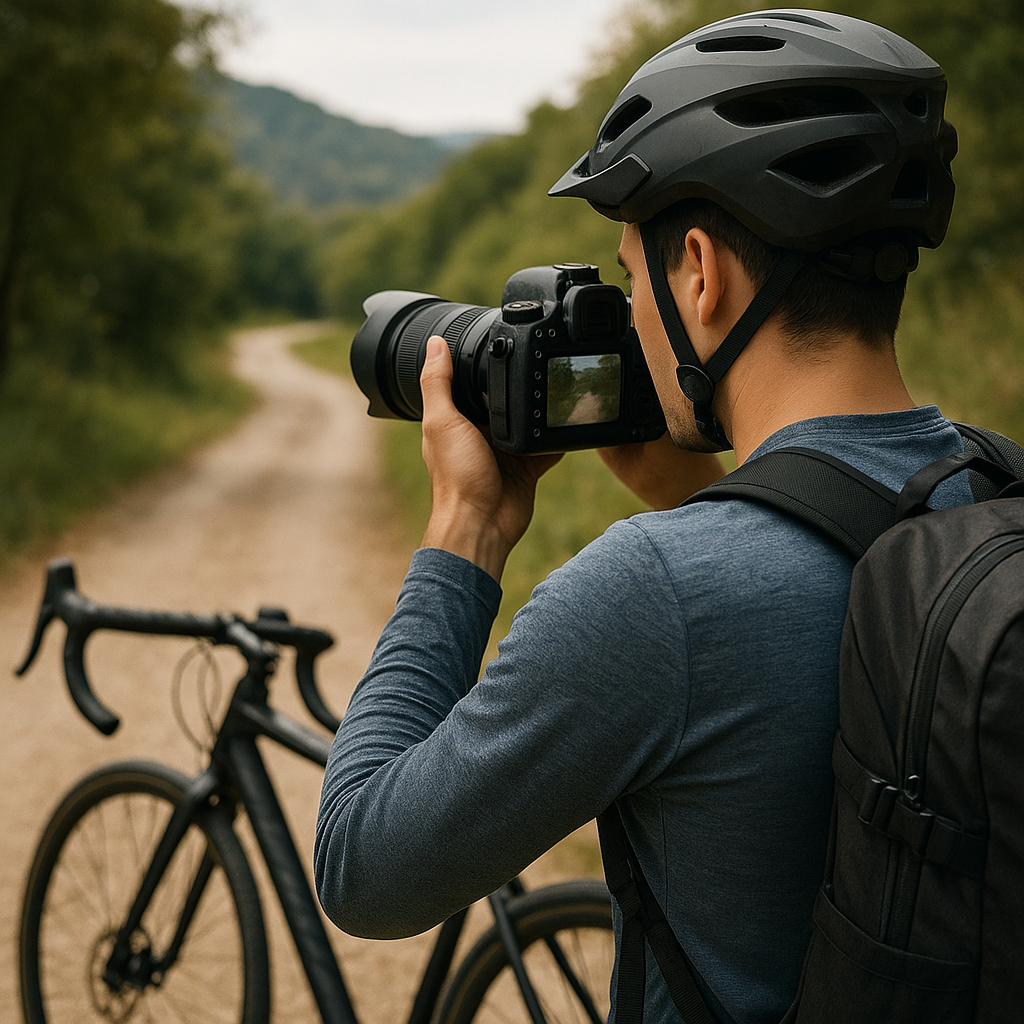
Before you set off, investing in suitable equipment is crucial. The choice of camera and accessories can significantly influence the quality of your shots and how seamlessly you integrate photography into your ride.
Camera Bodies and Lenses
- DSLR vs. Mirrorless: Mirrorless models tend to be lighter and more compact, ideal for long rides.
- Prime vs. Zoom Lenses: A versatile zoom (e.g., 24-70mm) covers wide landscapes and tighter details, while a fast prime lens excels in low-light conditions.
- Weather-Sealed Options: Opt for bodies and lenses with seals to protect against dust, rain, and mud.
Essential Accessories
- Tripod or Mini-Tripod: Provides stability for self-portraits and panoramas.
- Handlebar or Helmet Mount: Keeps your camera secure and ready to shoot action without slowing you down.
- Spare Batteries and Memory Cards: Cold weather and frequent shooting drain resources fast. Carry backups.
- Protective Case: A rugged case shields your gear from impacts during transport.
Choosing the right gear sets the foundation for capturing crisp, professional-quality images no matter where the trail leads.
Mastering Composition and Light on the Road
Great snapshots aren’t just about having an expensive camera. The way you frame your subject and use available light determines the impact of each photograph.
Rule of Thirds and Leading Lines
- Divide your frame into thirds, horizontally and vertically. Position key elements (riders, landmarks) along these lines or intersections for a balanced image.
- Utilize natural leading lines—roads, fence rails, tree rows—to draw the viewer’s eye into the scene and towards your subject.
- Experiment with different angles: crouch low to emphasize the foreground or climb a small hill for a grand aerial perspective.
Working with Natural Light
- Golden Hour: Shoot early in the morning or late afternoon for warm, soft hues that accentuate textures and colors.
- Backlighting: Position the sun behind your subject to create dramatic silhouettes or rim lighting around a rider’s helmet and bike frame.
- Diffused Light: Overcast skies act like a giant softbox, evenly illuminating landscapes and reducing harsh shadows.
Mastering composition and controlling lighting are fundamental skills that turn ordinary snapshots into captivating images.
Storytelling Through Your Cycling Snapshots
Photography is more than capturing pretty views; it’s about conveying the spirit of your adventure. Each image should contribute to a cohesive narrative.
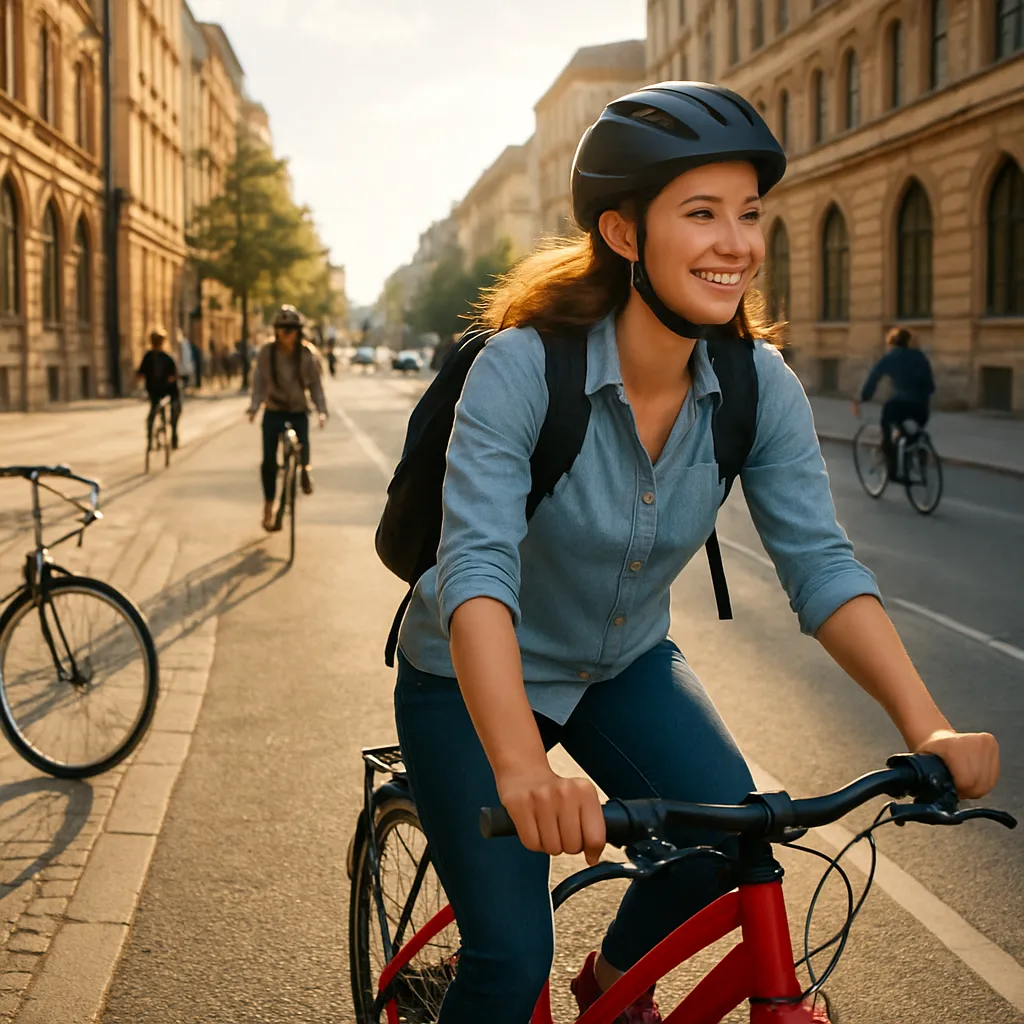
Capturing Emotion and Movement
- Freeze Action: Use fast shutter speeds (1/500s or faster) to crisply capture riders as they power uphill or coast downhill.
- Motion Blur: Try slower speeds (1/30s–1/60s) panning with your subject to convey speed and dynamism.
- Expressions and Interactions: Photograph candid moments—smiles at a rest stop, concentrated faces negotiating a rocky trail.
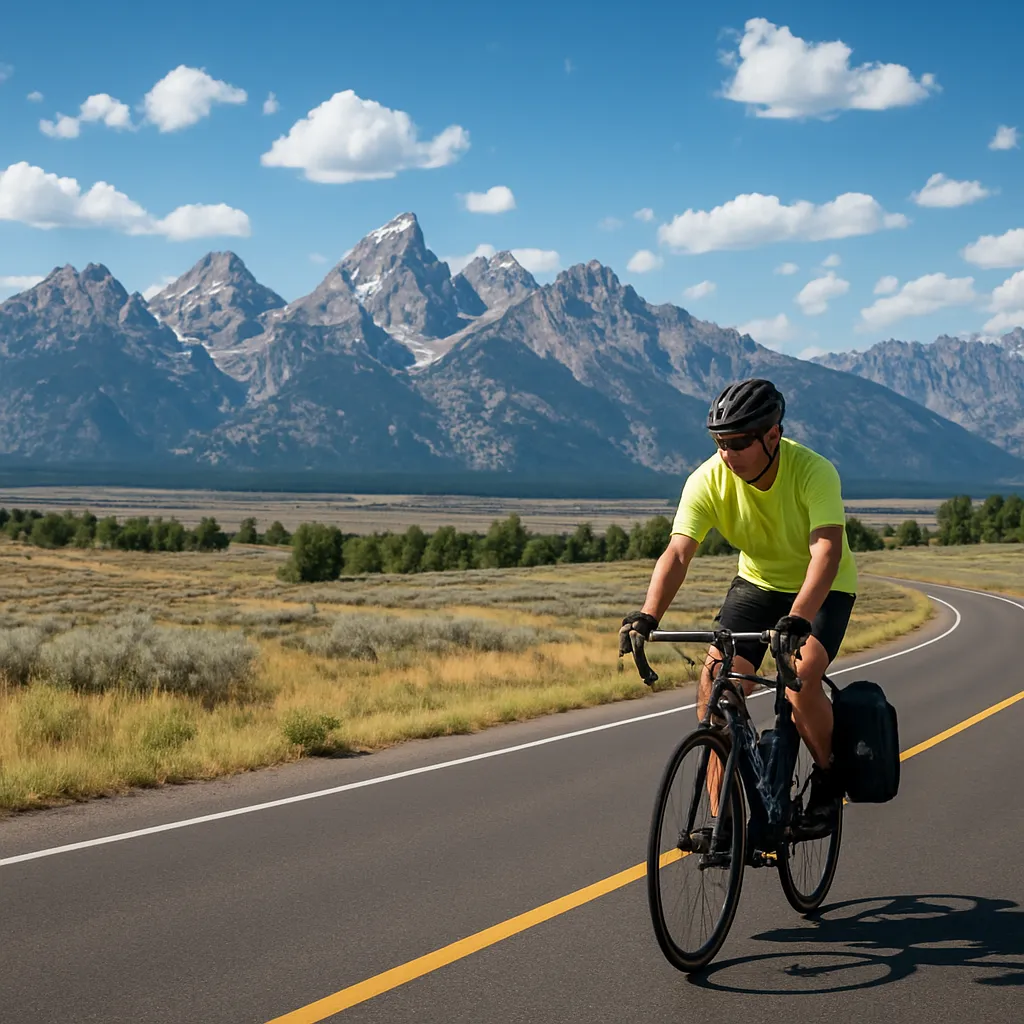
Documenting the Environment
- Wide Shots: Showcase sprawling landscape scenes that set the stage for your ride.
- Close-Ups: Detail shots of worn tires, muddy chains, or vibrant wildflowers add texture to your story.
- Contextual Portraits: Place riders within their surroundings—a lone cyclist on a deserted road or a group gathering at a scenic overlook.
By blending motion, emotion, and environment, you create a visual journey that transports viewers alongside you on every climb and descent.
Post-Production and Sharing Your Adventure
After returning home, editing your images is where the story truly comes together. A well-crafted post-production workflow helps maintain the authenticity of your ride while enhancing key details.
Editing Workflow
- RAW vs. JPEG: Shoot in RAW to retain maximum data for color correction and exposure adjustments.
- Color Grading: Subtly boost contrast and saturation to bring out the rich tones of landscapes and gear.
- Cropping and Straightening: Refine your framing by removing distractions and aligning horizons.
Building a Cohesive Narrative
- Image Sequence: Arrange shots in chronological order—prep, on the trail, summit celebrations, journey home.
- Consistent Style: Apply a uniform color palette or preset to ensure all images feel part of the same journey.
- Captions and Annotations: Add brief notes on route names, elevation gains, and personal reflections to enrich the viewing experience.
Sharing your final gallery on blogs, social media, or printed photo books lets others experience your adventure long after the ride is over. Embrace the process from planning to post-production to immortalize every mile and moment.