Bicycles offer an unmatched sense of freedom and connection with the environment, but to fully enjoy every ride you need to pay attention to crucial details like tire pressure and puncture prevention. Proper inflation influences comfort, speed, and safety, while mindful care and smart choices can dramatically reduce the chance of unwelcome flats. This guide dives deep into the essentials of understanding, choosing, and maintaining your equipment to get the most out of every pedal stroke.
Understanding Tire Pressure and Its Impact on Riding
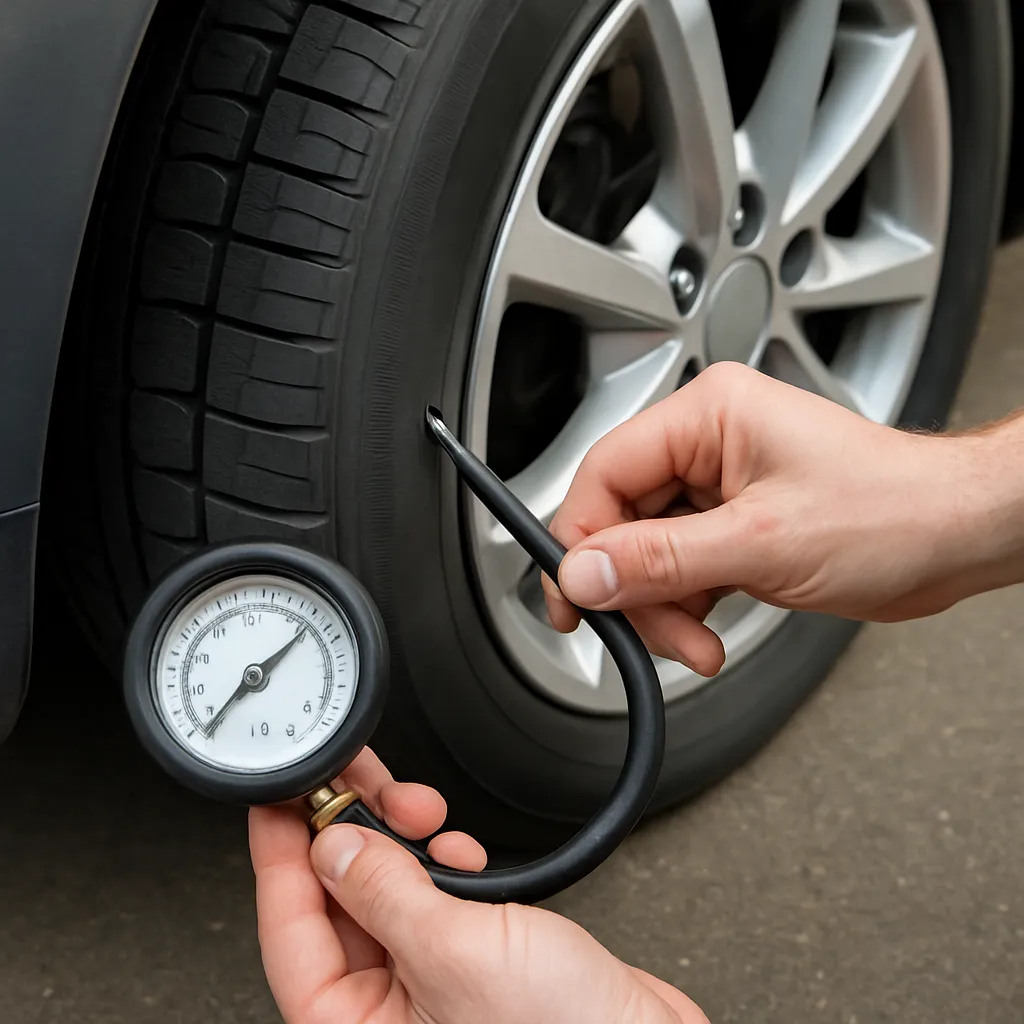
When you inflate your bicycle tire, you’re setting the level of pressure that determines how the wheel interacts with the ground. Too low and you’ll struggle with rolling resistance, risk pinch flats, and feel a sloppy, unstable ride. Too high and you’ll sacrifice grip, experience a jarring, uncomfortable journey, and increase the likelihood of dings from sharp obstacles. Learning to hit that optimal sweet spot enhances traction, energy efficiency, and overall ride performance.
Most modern tires carry a recommended PSI or bar range printed on their sidewall. Start at the midpoint and adjust in small increments (2–3 PSI) based on riding conditions, terrain, and load. A heavier rider or a fully loaded touring setup may need slightly higher inflation to preserve durability, while a lighter rider on smooth pavement can safely dial the pressure down for added comfort. Always cross-check your pump’s reading with a reliable gauge, as built-in gauges can drift over time.
Environmental factors also play a role. Colder temperatures cause air to contract, slowly dropping your tire PSI, while heat from long descents can temporarily boost it. Make checks part of your pre-ride routine—especially when the weather shifts—to maintain consistent handling. By staying mindful of these variables, you’ll ride with confidence and reduce surprises.
Selecting and Using the Right Equipment
High-Quality Air Pumps
- Floor pumps with stable bases and long hoses for smooth inflation.
- Mini pumps or CO₂ inflators for emergency on-road top-ups.
- Models designed for Presta or Schrader valves to match your wheel setup.
Accurate Pressure Gauges
An external gauge ensures you hit target PSI accurately. Digital versions offer quick readings to the decimal point, while analog gauges remain reliable if regularly calibrated. Keep one at home for monthly checks and another compact version in your saddlebag for roadside inspections.
Sealants and Valve Accessories
- Sealant cartridges for tubeless systems to instantly repair small nicks and leaks.
- Valve core tools to swap out or tighten cores without damaging threads.
- Dust caps to keep dirt and moisture from fouling valve internals.
Key Inspection Points and Routine Maintenance
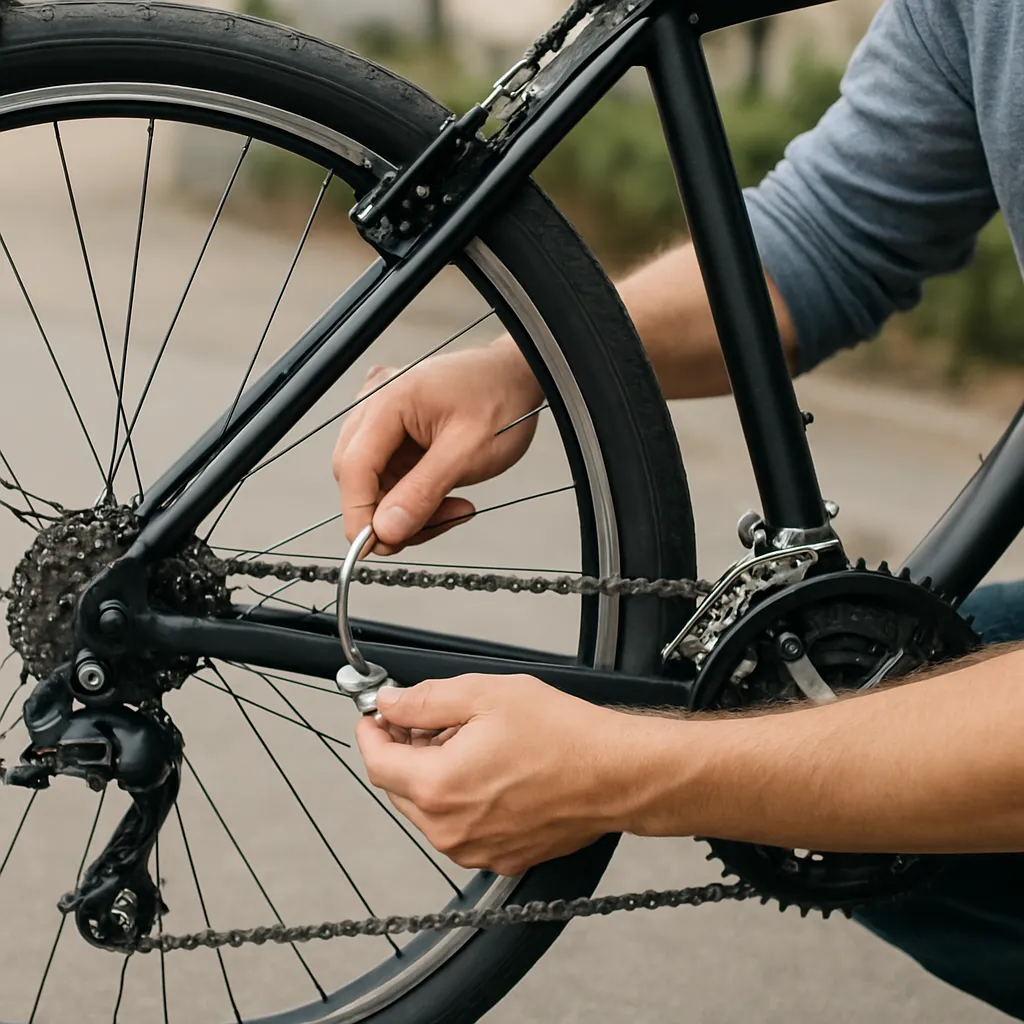
Routine maintenance is the backbone of trouble-free cycling. Set aside time every week or after long rides to inspect your tires and wheels:
- Check tread for embedded glass, stones, or metal shards that can work through rubber.
- Examine sidewalls for cuts, bulges, or wrinkles indicating internal damage.
- Ensure your valve stems are straight and fully seated to prevent air leaks.
- Wipe down rims and brake tracks to remove grit that might wear out durability prematurely.
Catching minor issues early can save a major headache on the road. Keep your hands clean and avoid greasy contact with the tire surface, which can attract more debris. A quick spin of each wheel lets you spot wobbles or loose spokes before they escalate.
Preventing and Handling Punctures on the Road
Even with perfect maintenance and inflation, small hazards can still cause punctures. Preparation is your best friend when facing a flat mile from home. Start by packing a compact repair kit that includes tire levers, spare tubes, patches, and a mini pump or CO₂ inflator. Practice a quick tire swap and patch application at home so you avoid fumbling under roadside pressure.
To minimize the risk of flats:
- Ride slightly to the side of congested paths where debris often accumulates.
- Avoid riding too close to curbs or potholes where pinch flats are common.
- Consider studded or textured tires during winter months for added grip and protection.
- Apply a layer of sealant inside tubes or use tubeless setups for self-healing capability.
Should you feel a sudden loss of pressure mid-ride, remain calm, find a safe spot, and inspect the tire. A quick patch or tube swap usually takes under 10 minutes with practice. Always re-inflate to the optimal PSI listed on the sidewall to ensure stable handling upon restart.
Choosing the Best Tires for Your Riding Style
Your tire choice influences more than just comfort—it affects speed, grip, and flat resistance. Road cyclists often prefer slick or semi-slick tires in narrow widths (23–28mm) to minimize rolling resistance, while mountain bikers lean toward wider knobby tires (2.0–2.4 inches) for maximum traction on rough terrain. Commuters and tourers might select hybrid tires around 32–45mm wide, balancing efficiency with a protective sidewall.
Brands offer specialized compounds and puncture-resistant layers. A reinforced belt or a second casing layer beneath the tread dramatically reduces pinch flats and cuts from street debris. While these models add a few grams of weight, the tradeoff for extra safety can be well worth it if your routes include glass or construction zones. Always factor in the maximum recommended PSI range—overinflating a “touring” tire beyond its rating can lead to blowouts, undermining your ride’s durability and comfort.
Ultimately, experiment with different tire widths, pressures, and compounds to fine-tune your setup. Keep a log of conditions, PSI settings, and any incidents of flats to identify patterns. Over time, you’ll develop an instinctive sense for the ideal combination of equipment and inflation, ensuring every journey is smooth, efficient, and free of surprises.
